Overview-type Minimap Tutorial for Unity
Game levels come in many shapes and forms, from simple 2D levels to more complex 3D levels, with vast spaces and corridors.
Minimap is a miniature map that is typically placed in the corner of the screen and is often used in video games to help the players navigate the game level.
In this tutorial I will be showing how to make a circular minimap in Unity, using UI canvas.
Steps
For the player controller, I will be using this FPS Controller.
To make a minimap, follow the steps below:
- Open the Scene with your game level
- Create a new UI Canvas, if you don't have any (GameObject -> UI -> Canvas)
- Create a new Image, by right-clicking on Canvas -> UI -> Image
- Assign the sprite below to the image (Right-click to download the image)
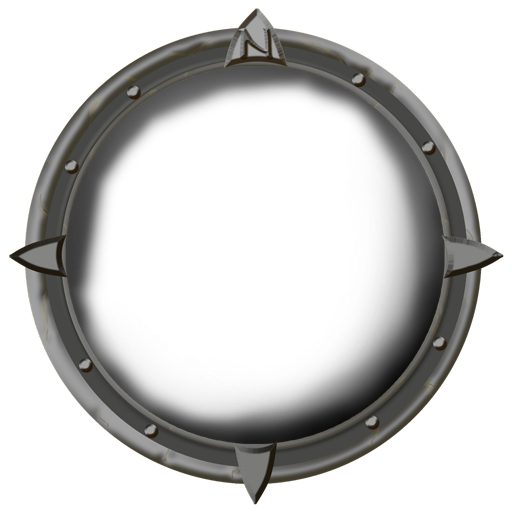
- Change the Image alignment to the top left and the pivot to (0, 1)


- Create a new Raw Image, by clicking on Canvas -> UI -> Raw Image (Make sure the Raw Image is placed before the Radar Image in Hierarchy, so it's rendered behind).

- Create a new Camera, name it "Minimap_Camera", place it above your player then point it down
- Remove Audio Listener from "Minimap_Camera"
- Create a new Render Texture (In Project view Create -> Render Texture) and name it "MinimapTexture"
- Assign newly created Render Texture to "Minimap_Camera" Target Texture
![]()
- Assign "MinimapTexture" to Raw Image Texture

Now we need to add a sprite mask, so the image is nicely cropped:
- Duplicate the radar image
- Change the texture of the duplicated image to the sprite below (Right-click to download the image):

- Add Mask component to the mask image

- Move the Raw Image with Render Texture inside the mask image

The final image should be cropped now:

As you can see, the minimap Camera shows the map as it is, including the player and any dynamic objects, but that's not what we want, we what to show just the map without any dynamic objects.
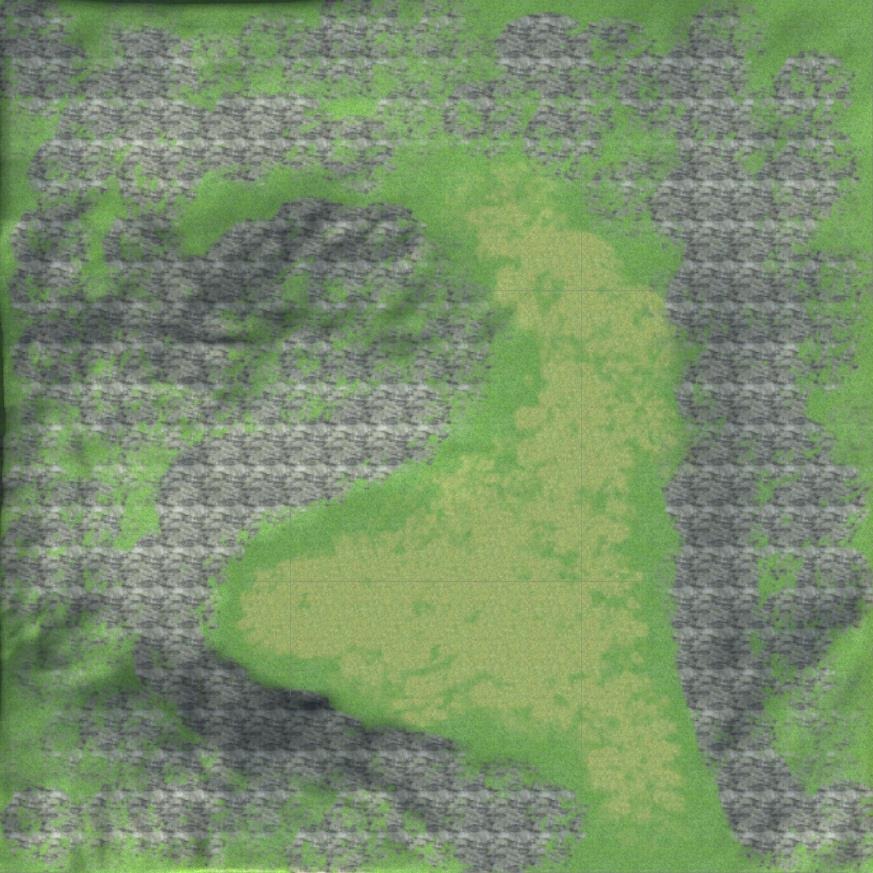
- Take a screenshot of the top view of the map (Before doing so, deactivate any dynamic objects such as players, enemies, etc.)
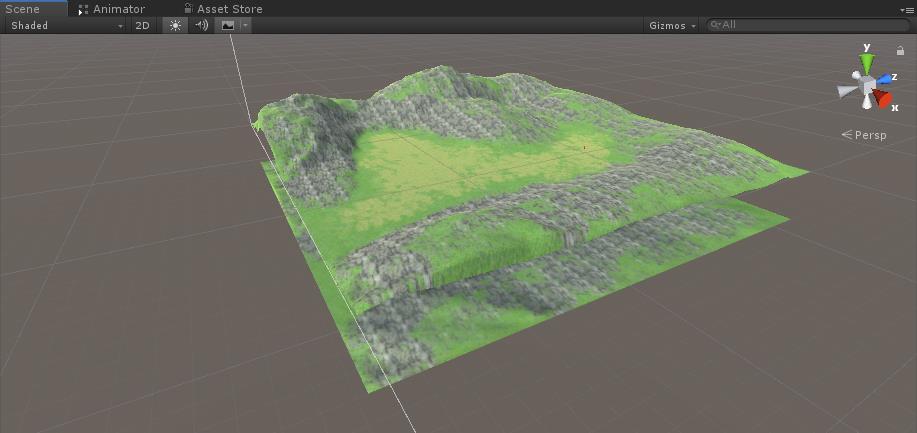
- Create a new Quad (GameObject -> 3D Object -> Quad) and place it under the map, like this:

- Assign the screenshot to the Quad and change the material Shader to "Unlit/Texture"
- Make sure the screenshot position on the Quad matches the map:
- Change minimap Quad layer to "UI"
- In "Minimap_Camera" change Culling Mask to "UI"
- Create another Quad and move it inside the "Minimap_Camera" object, assign the image below to it:

- Change the Shader on arrow Quad to "Unlit/Transparent"

- Change the arrow Quad layer to "UI"
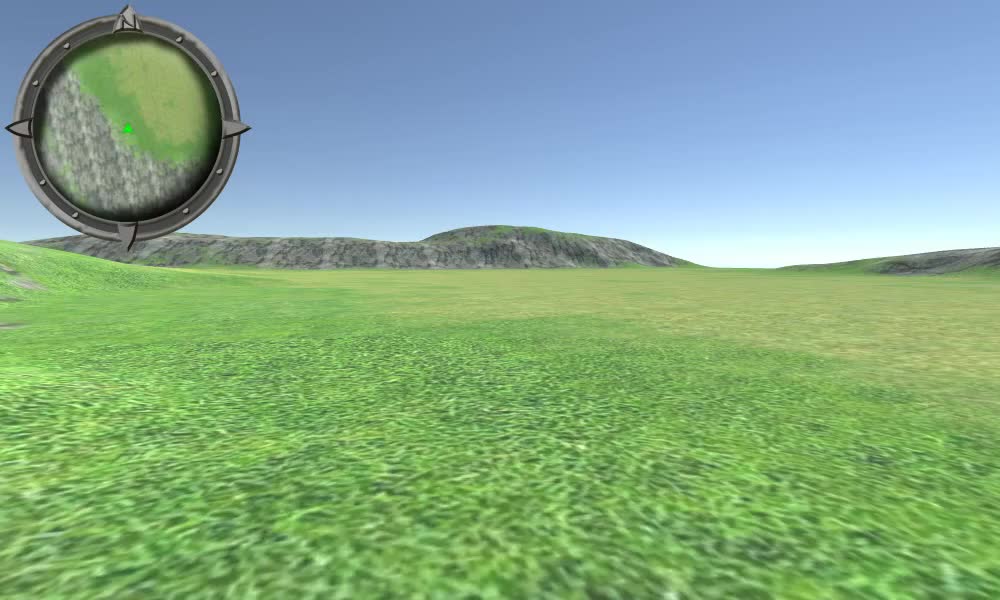
Here is the final result:

- Create a new script, name it "SC_MinimapCamera" and paste the code below inside it:
SC_MinimapCamera.cs
using System.Collections;
using System.Collections.Generic;
using UnityEngine;

public class SC_MinimapCamera : MonoBehaviour
{
    public Transform target;

    float defaultPosY;

    // Start is called before the first frame update
    void Start()
    {
        defaultPosY = transform.position.y;
    }

    // Update is called once per frame
    void Update()
    {
        // Apply position
        transform.position = new Vector3(target.position.x, defaultPosY, target.position.z);
        // Apply rotation
        transform.rotation = Quaternion.Euler(90, target.eulerAngles.y, 0);
    }
}- Attach the SC_MinimapCamera script to the "Minimap_Camera" object.
- Assign your player to the Target variable in SC_MinimapCamera.
The minimap is now ready, to use it just walk around the level and observe the position change.