Object Glow Effect Tutorial for Unity
In this tutorial, I will be showing how to achieve a glowing effect using Unity's Post Processing package.
So let's begin!
Steps
First, we need to download the Post Processing package.
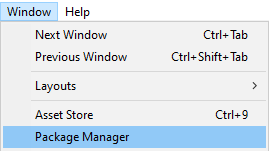
- In Unity go to 'Window' -> 'Package Manager'
- In Package Manager select "All packages"
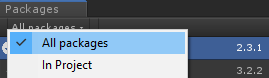
- Wait for all packages to load, then select "Post Processing" from the list
![]()
- Click "Install" in the bottom right corner (if it's not installed yet) then wait for the package to install.
- Add the "Post Process Layer" component to the Main Camera
- Change its Layer variable to 'PostProcessing' (create a new layer with that name if you do not have any)
- Change the Main Camera layer to 'PostProcessing'


- Add another component to the Main Camera called "Post Process Volume"
- Check the "Is Global" checkbox
![]()
- Right-click on the Assets folder -> 'Create' -> 'Post-processing Profile', call it "BloomProfile"
![]()
- Select "BloomProfile" and in Inspector View click 'Add effect...' -> 'Unity' -> 'Bloom'
- In the Bloom effect check the Intensity, Diffusion, and Fast Mode checkboxes and set the values from the screenshot below:
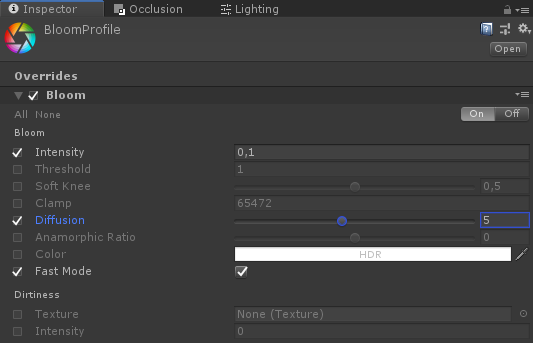
- Assign "BloomProfile" to the Profile variable in "Post Process Volume"
![]()
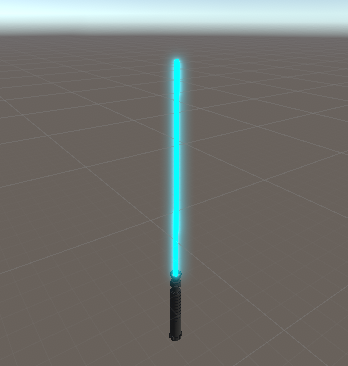
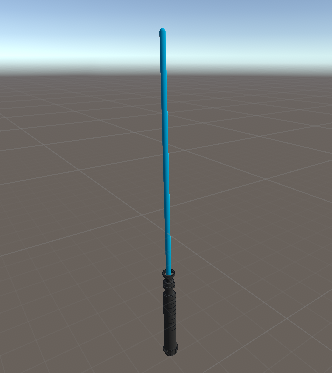
- Drag & Drop the object to which you want to apply the glowing effect into the Scene view (in my case it'll be a model of a Lightsaber)
- Select the material that you want to glow and make sure its Shader is set to "Standard"
- Enable the "Emission" checkbox
![]()
- Click on the "HDR" color and increase the "Intensity" value
![]()
The object should now glow: