How to Make PS1-Like Retro Graphics in Unity
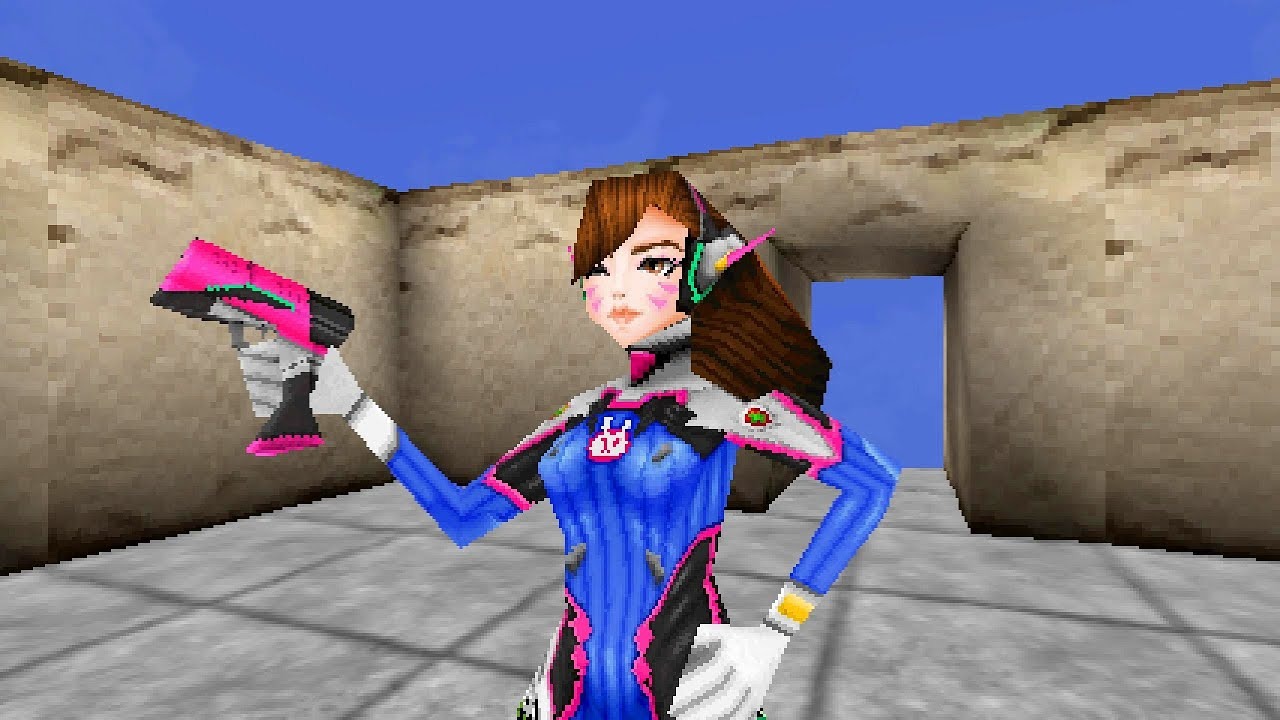
Creating PS1-like retro graphics in Unity involves emulating the visual style of the original PlayStation console, which had limited hardware capabilities compared to modern systems. This style is characterized by low-polygon models, low-resolution textures, and a distinctive blend of 3D and 2D elements. Here's a step-by-step tutorial with practical examples to achieve this aesthetic:
Step 1: Set Up a Unity Project
Create a New Unity Project if you haven't yet:
- Open Unity Hub and click on "New Project."
- Choose a 3D project template.
Step 2: Configure Project Settings
Graphics Settings:
- Go to 'Edit -> Project Settings -> Player'.
- In the Resolution and Presentation section, set the Default Is Full-Screen option.
- Set the Fixed Resolution option and set the resolution to a low value like 320x240.
Step 3: Create Low-Polygon Models
Import Primitive Shapes:
- Create or download low-polygon models (primitive shapes work well).
- Import them into Unity.
Adjust Mesh Settings:
- Select a model and reduce its vertex count.
- Adjust the mesh settings to create a blocky appearance.
Step 4: Apply Low-Resolution Textures
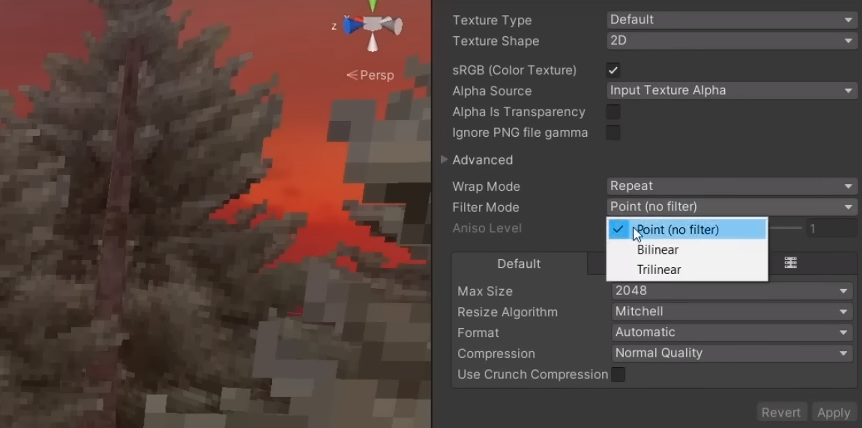
Texture Import Settings:
- Import textures with low resolutions (e.g., 64x64 or 128x128).
- Adjust the 'Filter Mode' to 'Point (no filtering)'.
Apply Textures to Models:
- Drag and drop the textures onto the low-polygon models.
Step 5: Implement Vertex Color Shading
Vertex Color Shader:
- Create a simple shader that uses vertex colors instead of relying on complex lighting.
- Assign this shader to your low-polygon models.
Step 6: Add Dithering
Dithering Post-Processing:
- Import a dithering shader (search for Unity dithering shaders on GitHub).
- Apply the dithering shader to your camera.
Step 7: Use Fixed Camera Angles
Orthographic Camera:
- Set your main camera to orthographic projection.
- Adjust the camera's rotation and position to emulate fixed angles.
Step 8: Implement Limited Color Palette
Color Palette:
- Limit your color choices to a specific palette (similar to the PS1 palette).
- Convert textures to this limited color space.
Step 9: Blend 2D Elements
2D Sprites:
- Import 2D sprites for UI elements or other details.
- Blend them with the 3D scene by adjusting their transparency.
Step 10: Test and Iterate
Playtest:
- Regularly playtest your game to ensure the desired retro look and feel.
Iterate:
- Adjust settings, shaders, and textures based on feedback and your own preferences.
Conclusion
By following these steps, you can achieve a PS1-like retro graphics style in Unity. Experiment with different settings, shaders, and assets to fine-tune the aesthetic for your specific project. Remember, the charm of PS1-era graphics lies in their limitations, so embrace the simplicity and uniqueness of this visual style.