Flashlight Tutorial for Unity
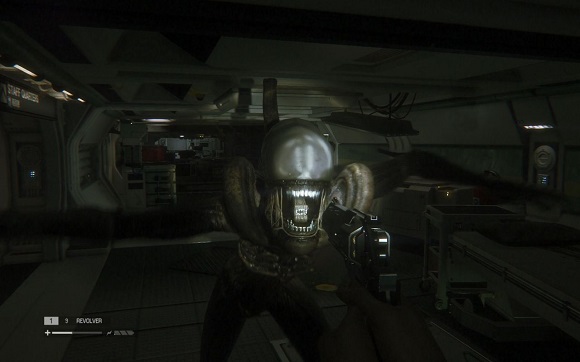
In many video games, a flashlight serves as a crucial tool (or gameplay element) that enhances the player's experience. A flashlight is a portable light source that can be turned on and off, typically mimicking the functionality of real-world flashlights. Its importance in games lies in its ability to create suspense, add realism, and provide illumination in dark or dimly lit environments.

Below is a quick tutorial on how to set up a controllable flashlight in Unity that can be turned on and off with a keypress.
Setting Up The Scene
- Create a new 3D project in Unity (or open an existing project)
- Import any necessary assets, such as a 3D character or environment if haven't yet
Create The Spotlight
- Right-click in the Hierarchy panel and select "Create Empty" to create an empty GameObject.
- Rename the new GameObject to "Flashlight."
- Make sure the "Flashlight" GameObject is selected in the Hierarchy.
- In the Inspector panel, click on the "Add Component" button, search for "Light" then click on it to add the Light component to the "Flashlight" GameObject, and repeat the same step to add the "AudioSource" component.
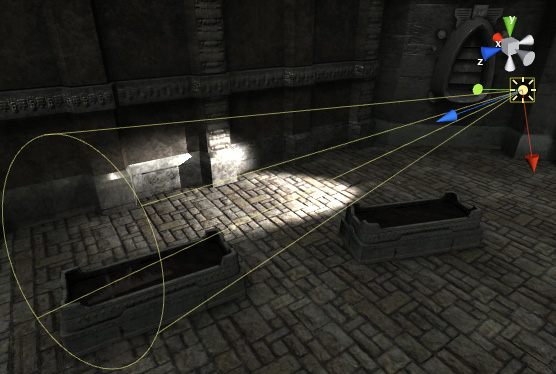
- Configure the Light component to the desired settings, such as setting the Type to "Spot" and adjusting the Range, Angle, and Intensity parameters.
- Configure the AudioSource component by adjusting the Volume, Distance, etc.

Attach The Flashlight To The Player
- Drag and drop the "Flashlight" GameObject onto the player character in the Hierarchy panel to make it a child of the player.
- Adjust the position and rotation of the flashlight so that it aligns with the player's hand or desired position.
Implement Flashlight Controls
- Create a new C# script by right-clicking in the Assets panel and selecting 'Create -> C# Script', then name it "FlashlightController."
- Double-click the script to open it in any preferred code editor.
- Remove the default code and replace it with the following script:
'FlashlightController.cs'
using UnityEngine;

public class FlashlightController : MonoBehaviour
{
    // Public variables
    public AudioClip turnOnSound;
    public AudioClip turnOffSound;

    // Private variables
    private Light flashlight;
    private AudioSource audioSource;

    private void Start()
    {
        // Get Light component in the same GameObject
        flashlight = GetComponent<Light>();

        if (flashlight == null)
        {
            Debug.LogWarning("Light component is not attached. Attach a Light component manually.");
        }
        else
        {
            flashlight.enabled = false;
        }

        // Get or add AudioSource component to the same GameObject
        audioSource = GetComponent<AudioSource>();
        if (audioSource == null)
        {
            audioSource = gameObject.AddComponent<AudioSource>();
            audioSource.playOnAwake = false;
        }
    }

    private void Update()
    {
        if (Input.GetKeyDown(KeyCode.F))
        {
            if (flashlight != null)
            {
                flashlight.enabled = !flashlight.enabled;

                // Play audio effect based on flashlight state
                if (flashlight.enabled)
                {
                    PlayAudioEffect(turnOnSound);
                }
                else
                {
                    PlayAudioEffect(turnOffSound);
                }
            }
            else
            {
                Debug.LogWarning("Cannot control flashlight as Light component is not attached.");
            }
        }
    }

    private void PlayAudioEffect(AudioClip clip)
    {
        if (clip != null)
        {
            audioSource.clip = clip;
            audioSource.Play();
        }
    }
}- Save the script and go back to Unity.
- Attach the "FlashlightController" script to the "Flashlight" GameObject.
- Make sure both Light and AudioSource components are attached to the same game object as the "FlashlightController" script.
- Assign your custom audio clips to the turn 'On/Off' sound variables.
Test The Flashlight
- Press the Play button to enter Play mode.
- Move the character around in the Scene.
- Press the "F" key to toggle the flashlight on and off.
Conclusion
Hopefully, this tutorial has helped to learn how to create a spotlight flashlight effect in Unity. It can be further enhanced by adding additional features like light flickering or adjusting the spotlight cone angle based on the player's input.