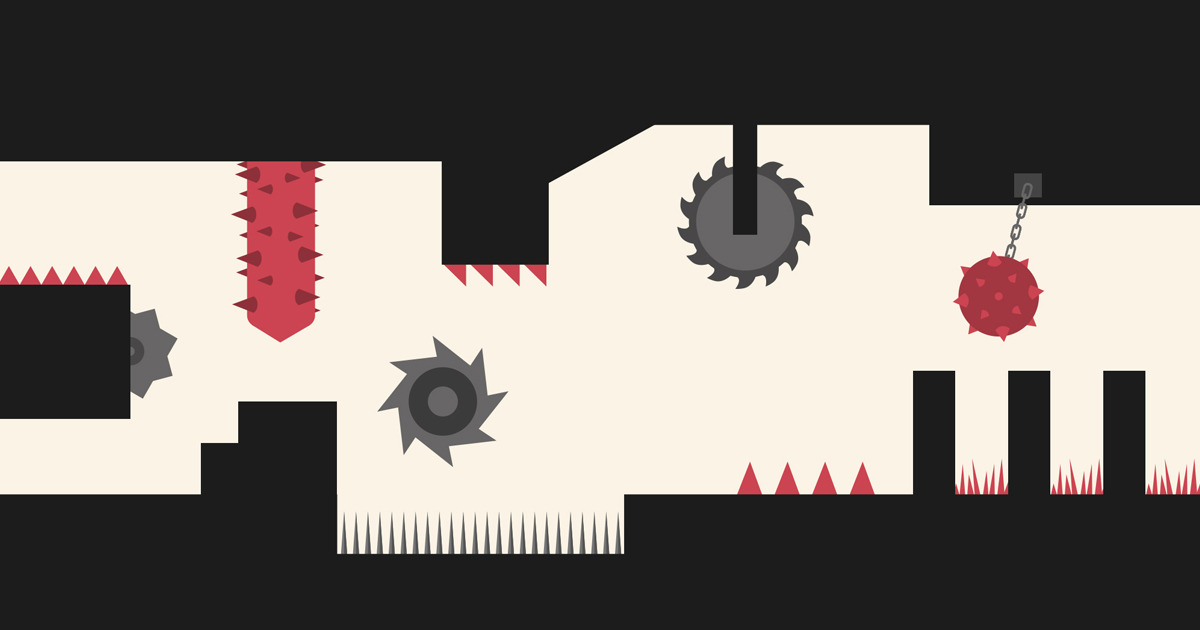
Creating 2D Spikes in Unity
Learn how to implement engaging 2D spikes in Unity with this simple tutorial, covering sprite setup, collision handling, and optional animation for added visual appeal.

- Check Collection of 2D Level Obstacle Sprites
Step 1: Set Up the Project
- Open Unity and create a new 2D project, if you haven't yet.
- Set up a simple scene with a player character and a ground.
Step 2: Create Spike Sprite
- Import a spike sprite into your project (you can find free sprites online).
- Drag the spike sprite into your scene.
Step 3: Add Collider to Spike
- Select the spike GameObject in the scene.
- Add a 2D Box Collider component to the spike GameObject.
- Adjust the collider size to match the spike sprite.
- Change the tag of the object with the collider component to 'Spike'.
Step 4: Player Collision with Spikes
- Attach a script to the player GameObject (e.g., PlayerController).
- In the script, use the 'OnCollisionEnter2D' function to detect collisions with spikes:
void OnCollisionEnter2D(Collision2D collision)
{
    if (collision.gameObject.CompareTag("Spike"))
    {
        // Handle player's reaction to spike collision (e.g., decrease health, restart level).
    }
}
Step 5: Spike Prefab
- Turn the spike GameObject into a prefab.
- Instantiate spikes in your scene by dragging the spike prefab onto the scene.
Step 6: Bonus - Animated Spikes
- Create a simple animation for the spikes.
- Use the Unity Animator to create an animation for the spike GameObject.
- Add the Animator component to the spike GameObject.
- Trigger the animation when the player gets close or when a certain event occurs.
Step 7: Test Your Game
- Playtest your game to ensure the player takes damage when colliding with spikes.
- Adjust the spike placement and frequency for optimal gameplay.
Conclusion
You've now implemented 2D spikes in Unity. Feel free to expand on this tutorial by adding more features like randomized spike patterns, scoring systems, or power-ups based on your game's requirements.