Unity Working With Prefabs
Prefabs are special assets that allow developers to store GameObjects along with their Components and other data into configurable templates, that can be later reused between the Scenes, and other Projects, or instantiated via a script, without needing to configure them again.
Cases where Prefabs are useful:
- Environment Assets (trees, bushes, rocks, etc.)
- NPCs (non-player characters)
- Projectiles
- Player Instances
- Any objects that need to be reused in the game
Example Use
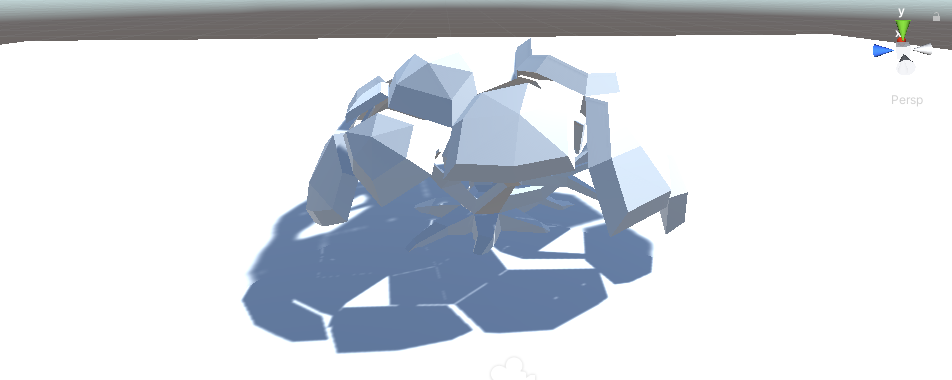
When dragging & dropping models directly to the Scene, they will often be spawned with some issues, such as:
- Missing textures
- Wrong scale
- Wrong rotation
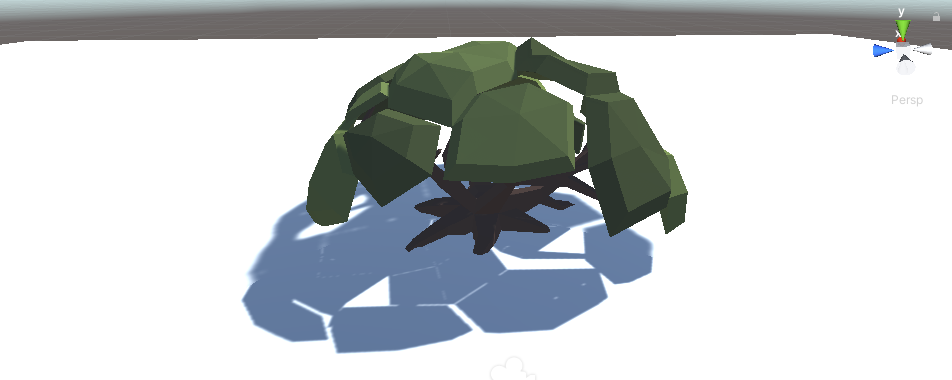
The issues above can be easily fixed in the Scene (assigning the correct material(s), changing the scale/rotation, etc.):
However, if you plan to use the model repeatedly and/or in various Scenes, repeating the steps above will quickly become a tedious task, so instead, we can save the model to a Prefab.
How to Create a Prefab
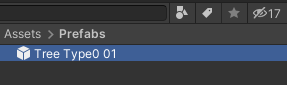
- To create a Prefab in Unity, simply Drag & Drop the Object from the Scene view into the Project view.

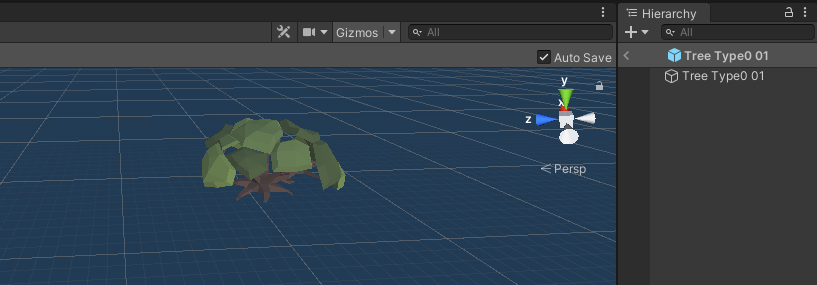
- After the Prefab is created, it can be dropped into any Scene, creating an exact copy:
Editing Prefabs
Editing existing Prefabs is done in 2 ways: by modifying them in the Prefab editor or by modifying them in the Scene.
Modifying in The Prefab Editor
- Select the Prefab in the Project view, then in the Inspector View click "Open Prefab"

- The Prefab will be opened in the editor, where you can modify it.
- When you're done modifying, click on the back arrow in the Hierarchy View to exit the editing and save the changes.
Modifying in The Scene
- Drop the Prefab into the Scene view then edit it there.
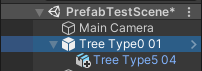
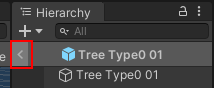
- In my case, I have added another Object to the Hierarchy (Notice the (+) symbol near the icon)
- When modifying prefabs in the Scene, the changes are not saved automatically, instead, you need to manually select the root object of the Prefab, and in Inspector View click on "Overrides" then click "Apply All" to save the changes, or "Revert All" to revert the changes.

- Some actions are not supported when editing Prefab directly in the scene, for example, if you need to restructure the hierarchy, you will be presented with the message "Cannot restructure Prefab instance" and with options to either "Open Prefab" or "Cancel".
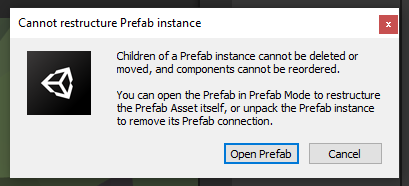
To restructure the Prefab instance either click 'Open Prefab' or right-click on the prefab in the Hierarchy view then click Prefab -> Unpack or Prefab -> Unpack Completely.
Unpacking Prefab will remove its association with the main Prefab, thus making it fully editable in the Scene.
To save the unpacked Prefab back, select the folder where the original Prefab is located, then drag & drop the modified object from the Hierarchy View into that Prefab.

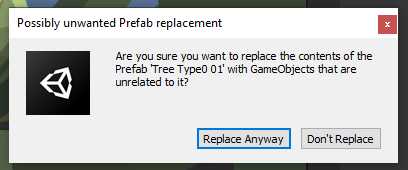
Sometimes, if the changes are too drastic, you will be presented with a confirmation message.
Make sure to double-check that you're modifying the right Prefab then click "Replace Anyway" to finalize the action or "Don't Replace" to cancel the action.
The new Prefab is now saved and ready to use.