Flare Gun Firing Logic in Unity
Enhancing the visual appeal and gameplay experience of your Unity project often involves adding exciting elements like a flare gun – a signaling device that fires illuminating flares into the sky for communication or distress signaling. In this guide, we'll walk through the process of implementing a straightforward flare gun firing logic. This includes the firing of a flare projectile, visual effects, and scripting to make it all work seamlessly in Unity.
Steps
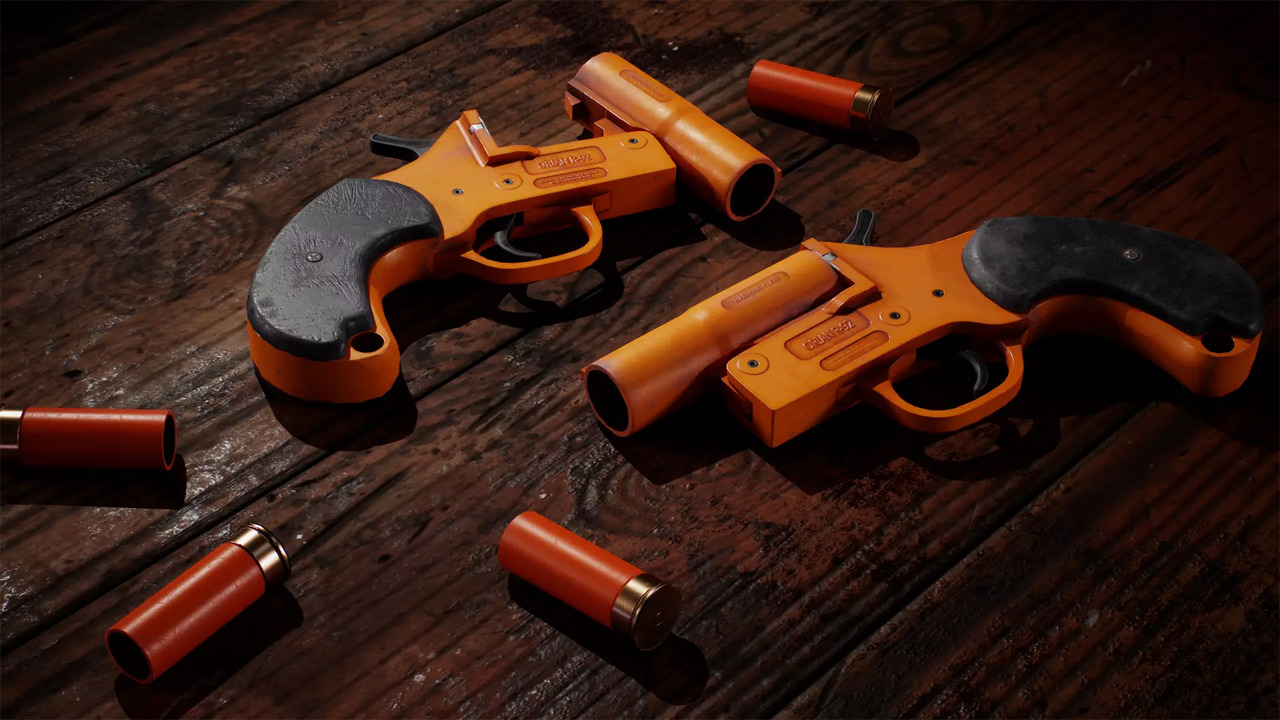
- Create the Flare Gun Object: Begin by creating a new GameObject for your flare gun. You can use a simple cylinder or cube to represent the gun in your scene or purchase a completed flare gun model.
- Design the Flare Projectile: Design a flare projectile using Unity's built-in 3D objects or import your own model. Ensure it has a Rigidbody component attached to enable physics interactions.
- Add Audio and Visual Effects: Enhance the user experience by adding audio and visual effects. Attach an Audio Source component to the flare gun for the firing sound and create a particle system for the flare's visual trail.
- Write the Flare Firing Script: Create a C# script to handle the flare firing logic. Attach the script to your flare gun GameObject. The following example illustrates a simple flare-firing script:
'FlareGun.cs'
using UnityEngine;

public class FlareGun : MonoBehaviour
{
    public GameObject flarePrefab;
    public Transform firingPoint;
    public float firingForce = 10f;

    void Update()
    {
        // Check for user input (e.g., spacebar) to fire the flare
        if (Input.GetKeyDown(KeyCode.Space))
        {
            FireFlare();
        }
    }

    void FireFlare()
    {
        // Instantiate the flare projectile at the firing point
        GameObject flare = Instantiate(flarePrefab, firingPoint.position, firingPoint.rotation);

        // Apply force to the flare projectile
        Rigidbody flareRb = flare.GetComponent<Rigidbody>();
        if (flareRb != null)
        {
            flareRb.AddForce(firingPoint.forward * firingForce, ForceMode.Impulse);
        }
    }
}- Configure the FlareGun Script: In the Unity Editor, attach the 'flarePrefab' (flare projectile), 'firingPoint' (position where the flare will be fired), and set the 'firingForce' according to your preferences.
- Test and Refine: Playtest your scene and make adjustments as needed. Tweak the firing force, visual effects, and any other parameters until you achieve the desired flare gun behavior.
- Optimize and Fine-tune: Optimize your code and project as necessary. Consider adding additional features, such as reloading mechanics or custom flare behavior, to make your flare gun more dynamic.
Conclusion
Implementing a simple flare gun firing logic in Unity can add an exciting element to your game or simulation. By following this guide and customizing the provided code, you can create a visually appealing and functional flare gun experience for your users. Experiment with different settings and expand upon the code to suit the specific needs of your project.