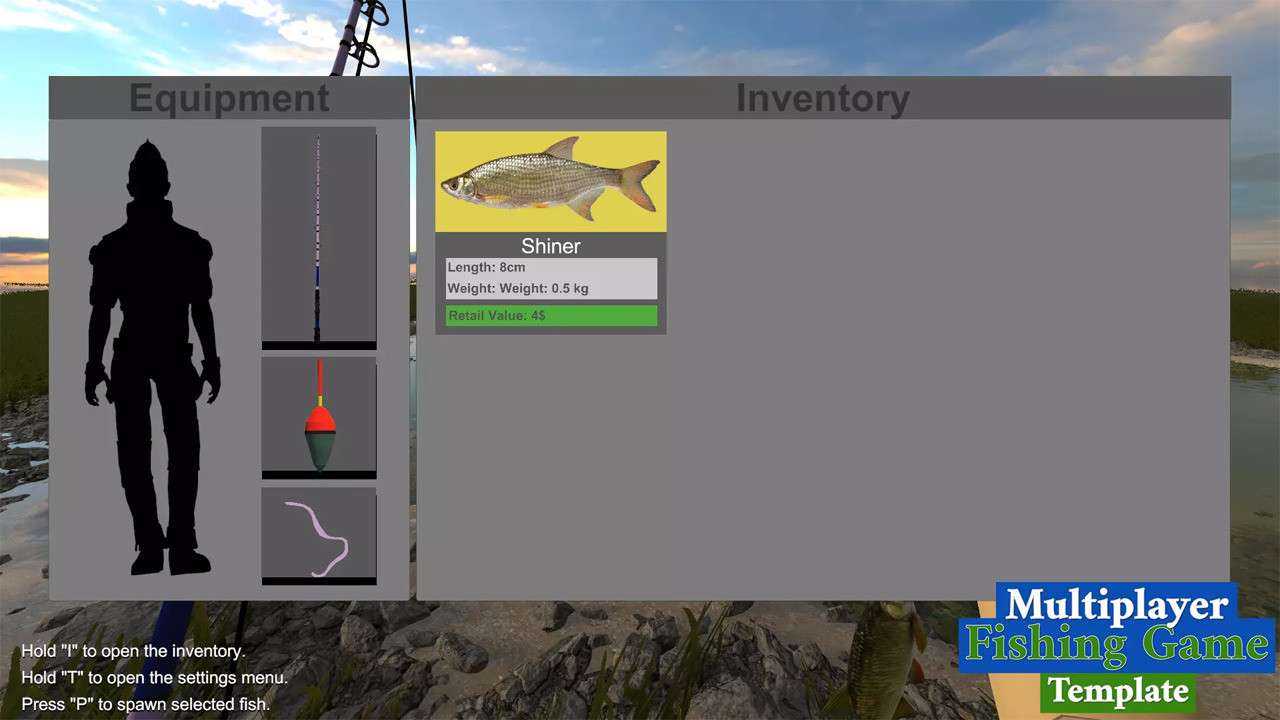
Fishing Game Guide for Unity

Creating a fishing game in Unity can be a fun and educational project. Below is a comprehensive guide to help you get started. This guide assumes you have a basic understanding of Unity and C#. If you're new to Unity, consider going through some introductory tutorials first.
Step 1: Setting Up Your Unity Environment
Download and Install Unity:
- Download the latest version of Unity Hub from the official Unity website.
- Create a new Unity account or sign in if you already have one.
- Install Unity using Unity Hub.
Create a New Project:
- Open Unity Hub.
- Click on the "New" button to create a new project.
- Choose a 2D template, as fishing games often work well in a 2D environment.
Step 2: Designing the Game
Create the Game Scene:
- Set up the main game scene. You may include a background, water, and a fishing boat.
Design the Fishing Rod:
- Create a sprite for the fishing rod. Consider having different sprites for different rod upgrades.
- Implement animation for the rod, such as the casting animation.
Design the Fish:
- Create various fish sprites.
- Define the characteristics of each fish, such as size, weight, and rarity.
Implement the Fishing Hook:
- Design a fishing hook sprite.
- Implement the movement of the hook when casting and reeling.
Step 3: Implementing Game Mechanics
Player Input:
- Use Unity's Input system to capture player input.
- Implement controls for casting and reeling.
Casting and Reeling:
- Use physics to simulate the casting of the fishing rod.
- Implement reeling mechanics with appropriate force and speed.
Fish AI:
- Implement fish behavior using Unity's NavMesh or custom AI.
- Define conditions for fish biting and escaping.
Catch Mechanism:
- Implement a catch system when the hook collides with a fish.
- Consider factors like fish size and weight for the difficulty of catching.
Scoring and Progression:
- Create a scoring system based on the size and rarity of the caught fish.
- Implement a progression system with different levels or locations.
Step 4: UI and Feedback
HUD:
- Design and implement a Heads-Up Display (HUD) showing relevant information like score, level, and remaining time.
Feedback:
- Provide visual and audio feedback for successful catches, missed catches, and level completion.
Step 5: Polishing and Optimization
Animations and Effects:
- Add animations for fish movements, water ripples, and other visual effects.
- Incorporate sound effects for a more immersive experience.
Optimization:
- Optimize the game for performance, especially if dealing with a large number of fish.
Step 6: Testing and Debugging
Playtesting:
- Regularly playtest your game to identify bugs and areas for improvement.
Debugging:
- Use Unity's debugging tools to identify and fix issues.
Step 7: Deployment
Build and Deploy:
- Build your game for the desired platform (PC, mobile, etc.).
- Test the final build on the target platform.
Distribution:
- If desired, distribute your game through platforms like Steam, Google Play, or the App Store.
Step 8: Continued Improvement
Gather Feedback:
- Collect feedback from players and make necessary improvements.
- Consider adding new features, levels, or fish based on user feedback.
Community Engagement:
- Engage with the Unity community for additional support and ideas.
Conclusion
This guide provides a broad overview of creating a fishing game in Unity. The process involves a combination of design, programming, and testing. Feel free to customize and expand upon these steps based on your specific vision for the game.